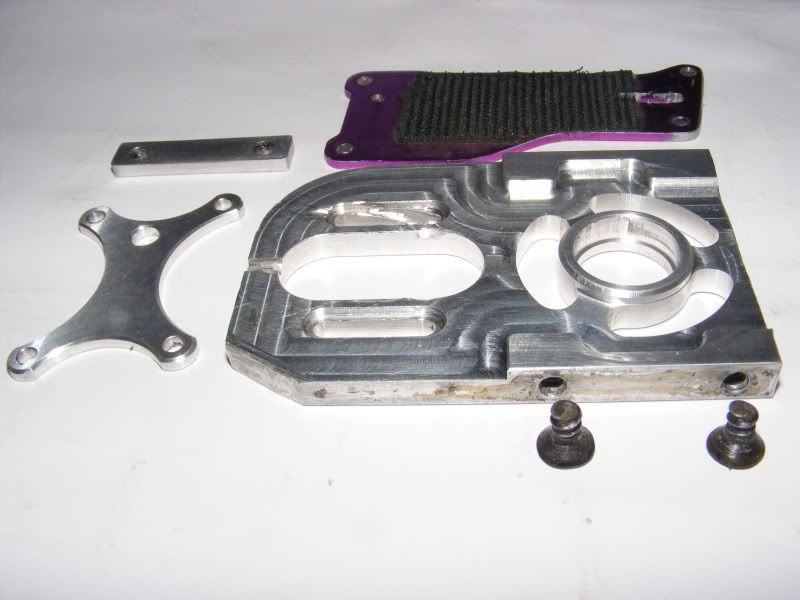
I finished making my carbon parts as can be seen
here but when I took the mount off, I saw a couple of minor problems that I had forgotten about
:-
Firstly I forgot that I had to cut down the countersunk screws that go through the chassis into the mount, I will still need the screws that I cut down so unfortunately if the new style mount needs the screws cut down too (and it looks like it will) my promise of a build without needing any metalwork done has been broken, although it is a relatively quick and easy job to cut them downwith either a hacksaw or a dremel, you can see in this picture roughly what length they needed to be shortened to.
The second problem is that I rounded off the head of a motor screw some time ago and drilled it out from the side, I didn't get it perfectly aligned and ate out a bit of one side of the top motor screw slot with the drill bit as can be seen in this photo
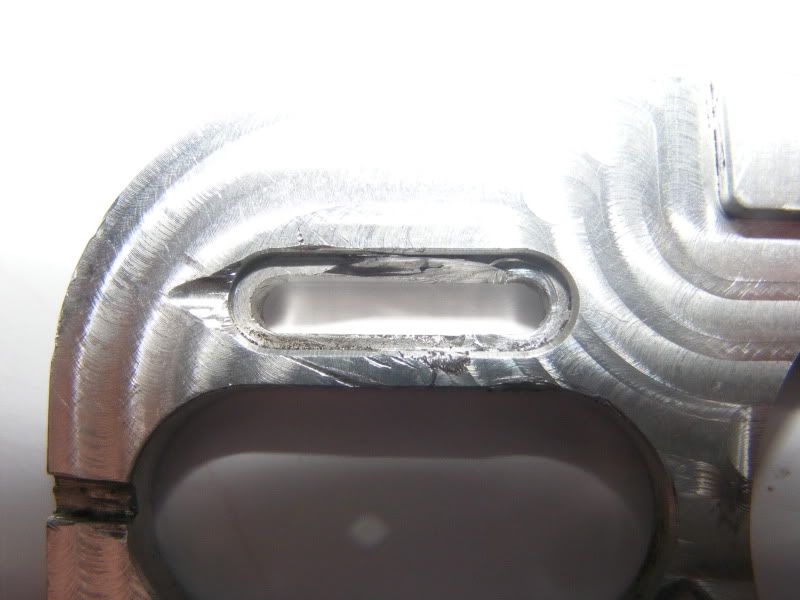
I had forgotten all about this as where my motor sits to mesh it doesn't effect it at all but if you use a larger spur or pinion the top motor screw may only be supported on one side of its head, while I can live with this I can't in good conscience swap it for a brand new mount when it may affect you, I will lighten my own mount and keep using that so you will not need to send me your motor mount.
PM me with your postal address and I will send you the diff top brace, front diff spacer, and single servo top plate as seen in the above photos free of charge. if the new style motor mount clears the mudguard you will only have to cut the motor mount screws down to fit your motor.
Hot Bodies Lightning 2 Pro carbon, Mega 22/30/2, MMM, 4s3-5Ah.
Tamiya F201 carbon, Mamba 7700, MM, 2s A123 2.3ah.
Xray XT8, 1518, MMM, 4s5Ah.
Lots of boats.
fastelectrics.net