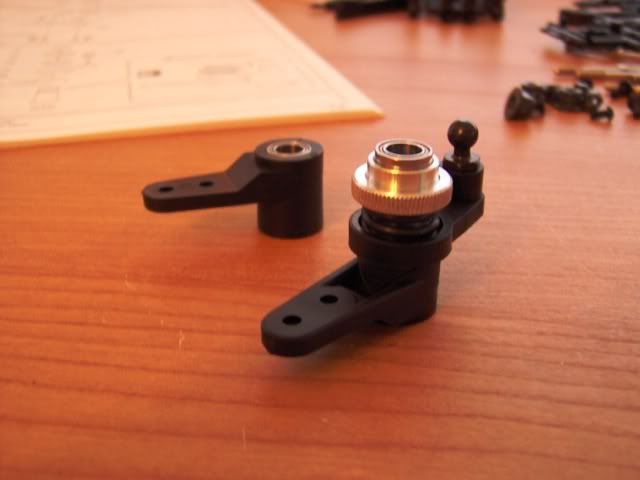
Now we move on to the servo saver. The instructions were a little difficult to understand on this step. At first I thought they were telling me to leave 1.5mm of the servo saver post above the screw on collar, but my collar bottomed out against the top of the post. After looking at it a few times, what they were telling me to do was leave 1.5mm of the bearing exposed above the collar. Notice how the bearing sits above the collar but is still held in place by the collar.
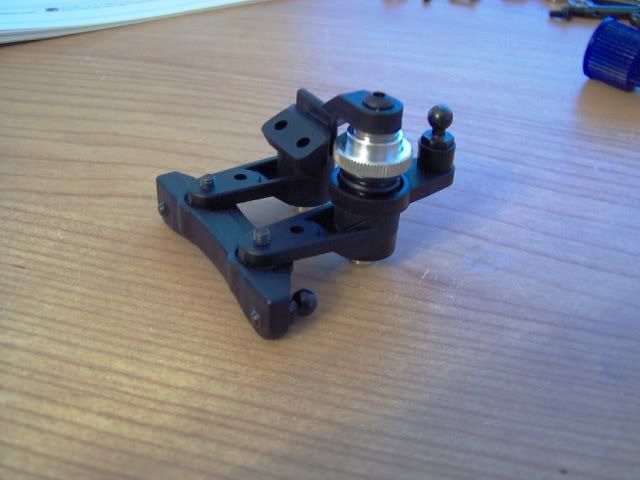
Now assemble the bellcranks and steering posts. I did make one change on this step. The kit comes with what appears to be 2 steel bushings that go into the steering rack to act as the pivot between rack and the bellcranks. I replaced these bushings with two 3x6x2.5mm flanged bearings. The bushings would work fine, but they bearings should last much longer.
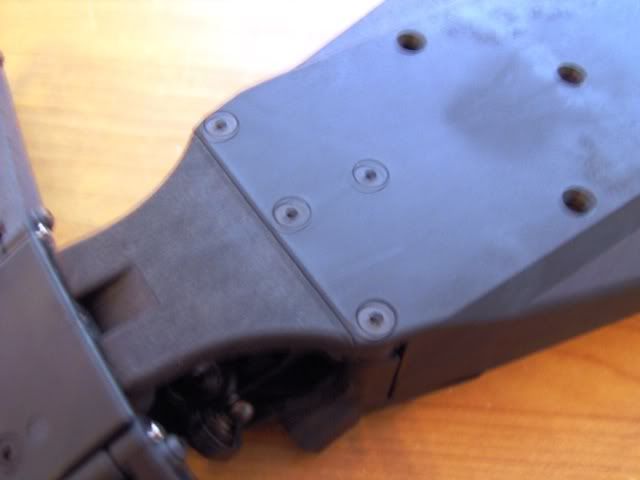
Then I secured the steering assembly and the front bulkhead assembly to the chassis. I did run into a small snag here...
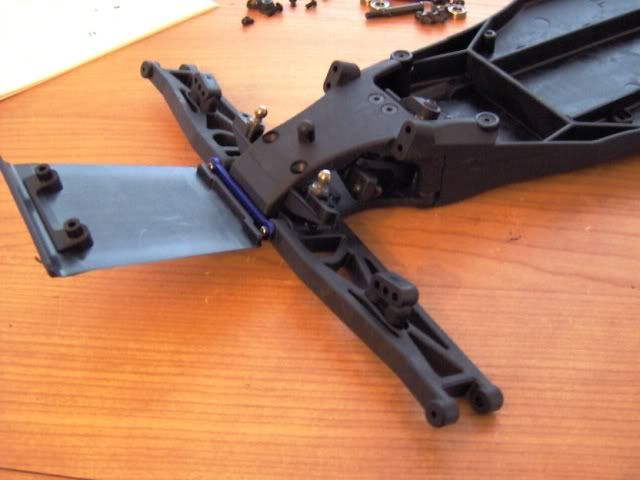
The manual calls for two 3x10mm button head screws to secure the left and right sides of the front bulkhead assembly to the chassis (its the top and bottom screws in this photo). These stripped pretty easily on me as I had used them to draw the bulkhead and chassis together. I think ultimately these screws are just slightly too short. I had some spare 3x12s that I used instead that tightened up nicely and held it all together.
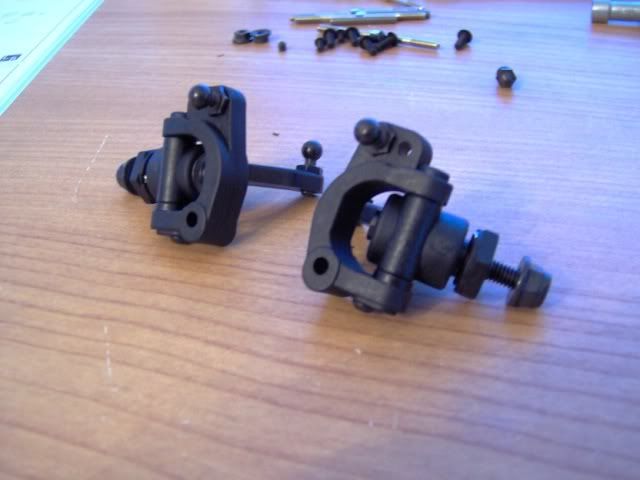
Now we build up the front steering spindles. I was bummed to see plastic hexes as part of this assembly step, but that's easily remedied down the line. The bearings are teflon sealed, which I haven't seen since my old Losi days. I love this style of bearing and all the ones in the kit were nice and smooth.