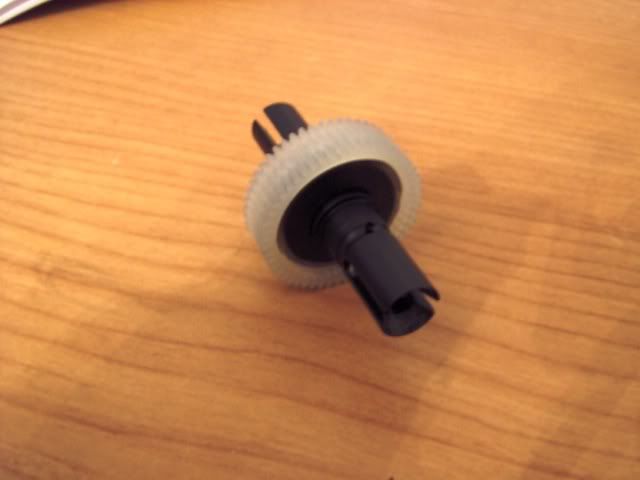
25 minutes of cursing, swearing, yelling, panting, sweating and we finally have a diff! The screw to secure the diff is too short. If it had been 2-3mm longer it would have simplified this process significantly. Mine was ultimately built quite tight. I almost had it about right a couple of times and the screw would let go on me (even tight it doesn't seem to be securely engaging the nylon in the locknut). I plan to go gear diff on this shortly. It's a cheap and easy solution and it's easy to tune. Not as adjustable as a ball diff, but unless they update the screw for this, I'm curious how well I could set it up anyway. I'll also mention this is probably the 20th ball diff I've ever built, so it's something I've done before. This one just gave me fits.
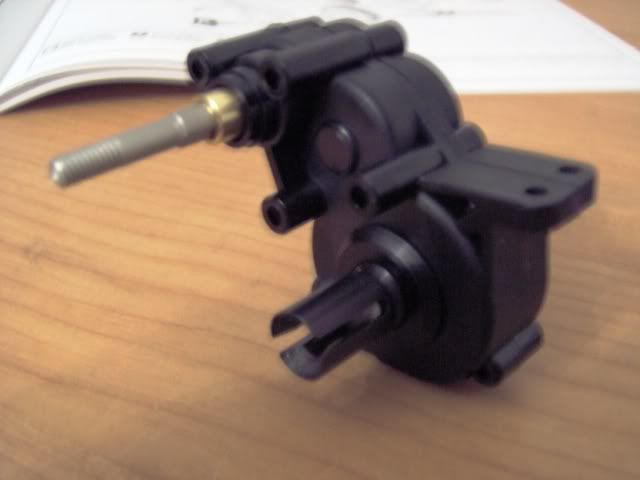
Now after all that struggle it was nice to have an easy step. The bearings fit into the transmission housing nicely and everything slid together. I used some losi clear diff grease I had lying around to lube the gears a bit. I prefer their teflon grease for this, but can't seem to find it without buying 5 dollars in diff balls with it.
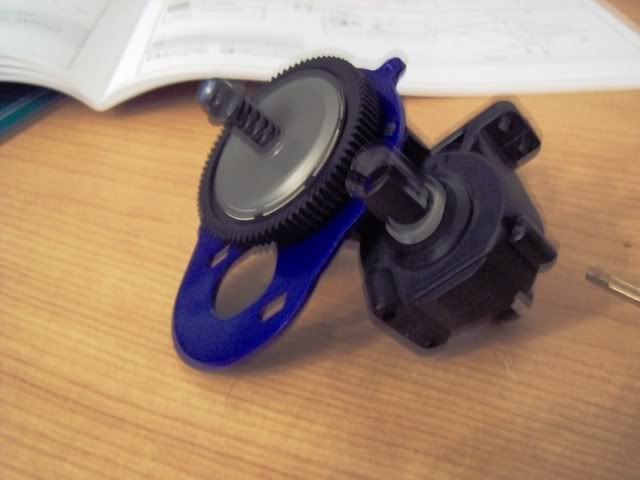
Now we install the motor plate and slipper. This is an easy process, but make sure you put a little locktite to secure the motor plate. I like the design of the slipper, though I wish they had used a more standardized spur gear. I don't like that I have to use a Kyosho spur. I would have preferred something I could get from Kimbrough as well to make it easier to get ahold of options. If I buy a gear or two though, I should be set.
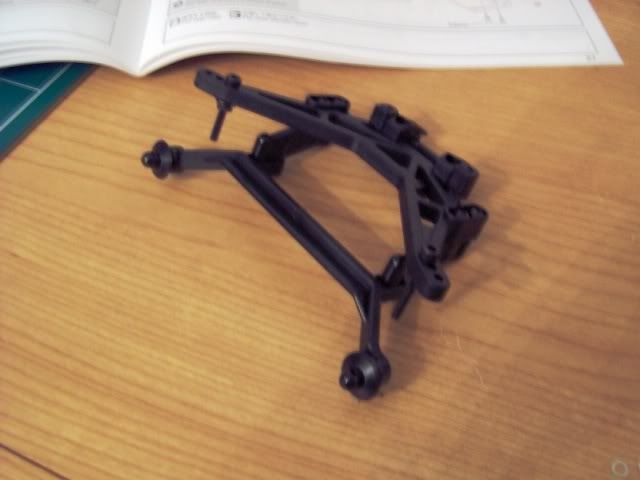
Next is attaching the rear tower to the body mount. Everything assembles nicely and when you have a situation like you do here where the body mount sockets into the tower, it actually has a nice tight fit that holds in in place while you run the screws in. It's a small thing, but shows attention to detail that I like.
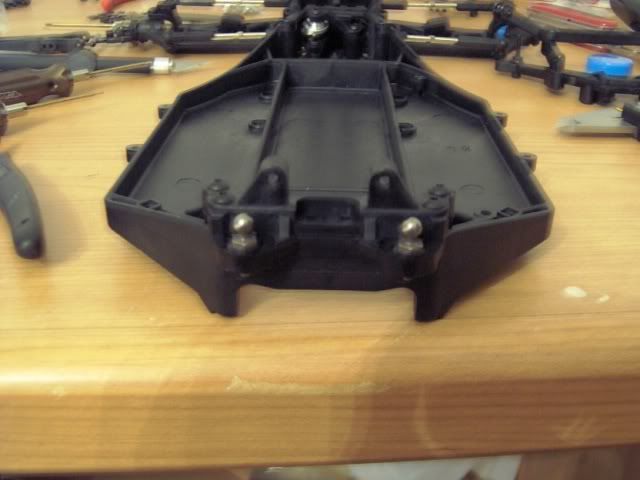
Now we attach the rear bulkhead to the chassis. Again with the plastic spacers.