

|
|

|

|
(#1)
|
|
Guest
Posts: n/a
|
05.03.2007, 03:37 PM
Thanks, I can figure it out from there. I will be using Mike's mount and heatsink, so I'll figure out what to add for those.
|
|
|

|
|
|
|
|
(#2)
|
|
Guest
Posts: n/a
|
05.03.2007, 08:58 PM
Here's some progress photos:
Paper mock up of trays and mounts: 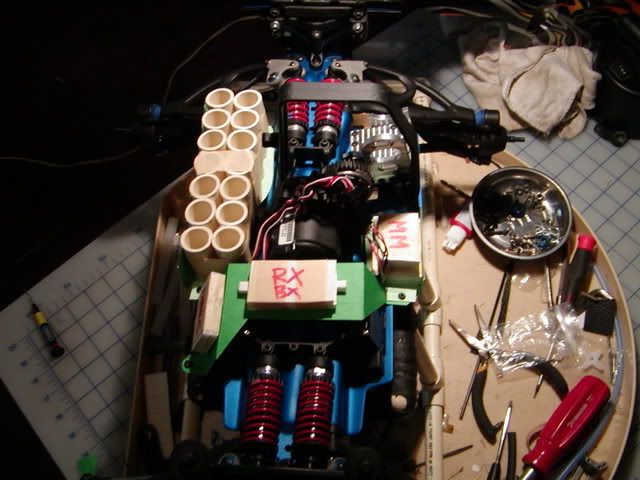 Aluminum beat into submission: 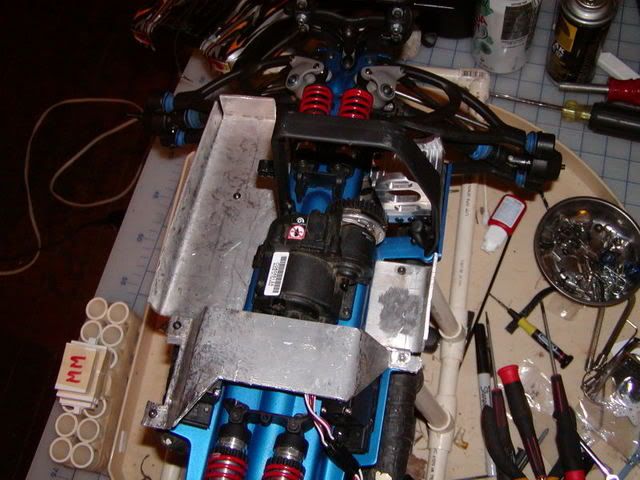 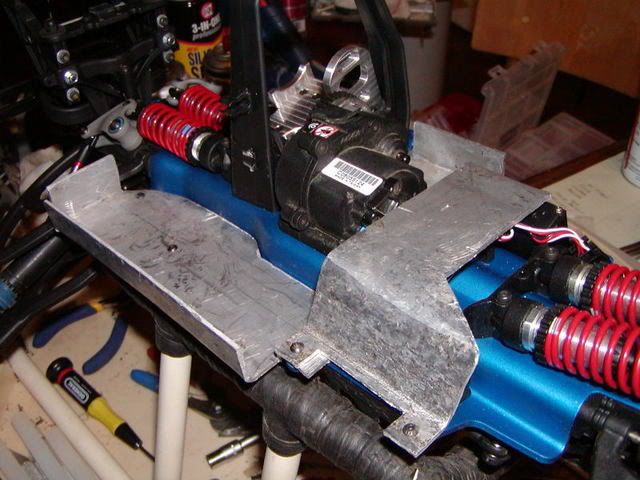 Trays and mounts sanded, painted and bolted in place: 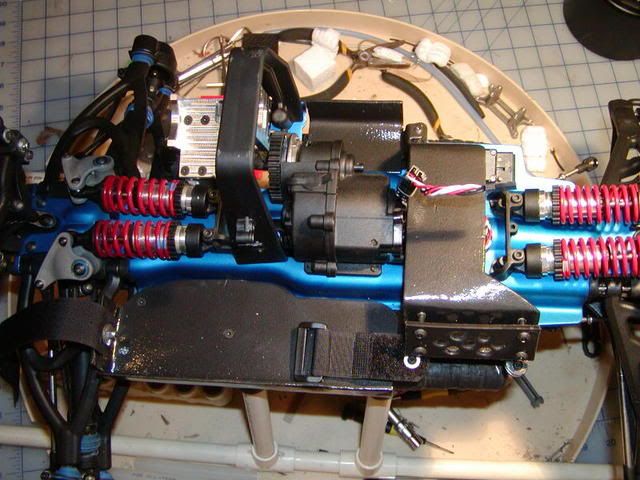 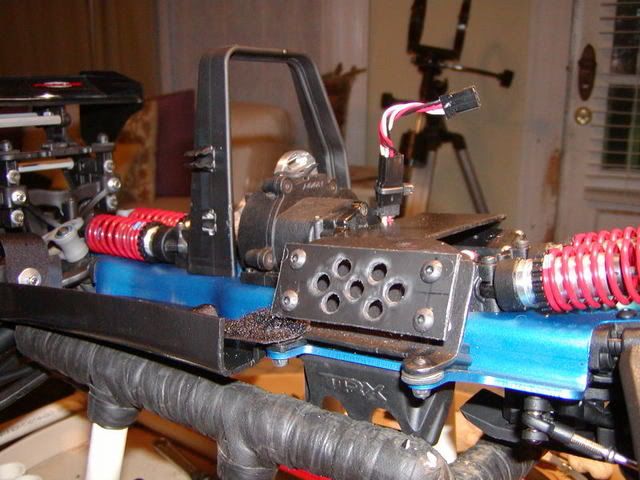 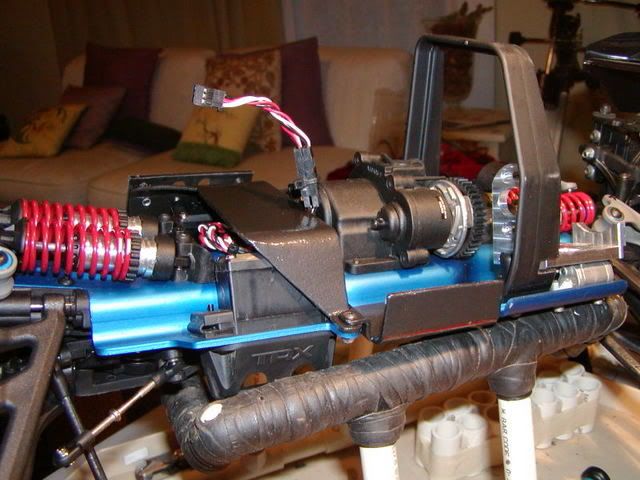 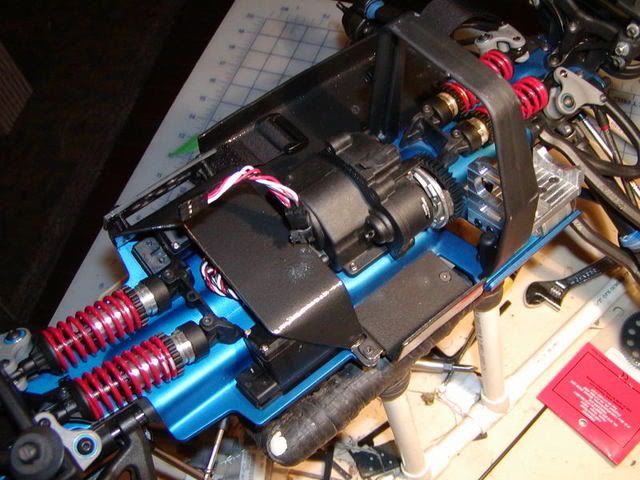 With electrics sitting in place: 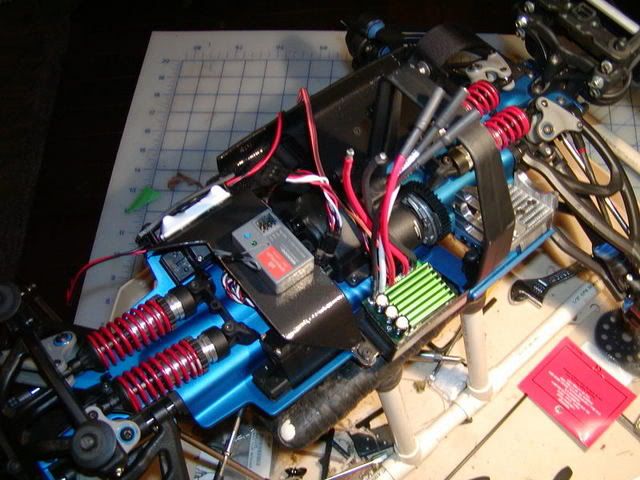 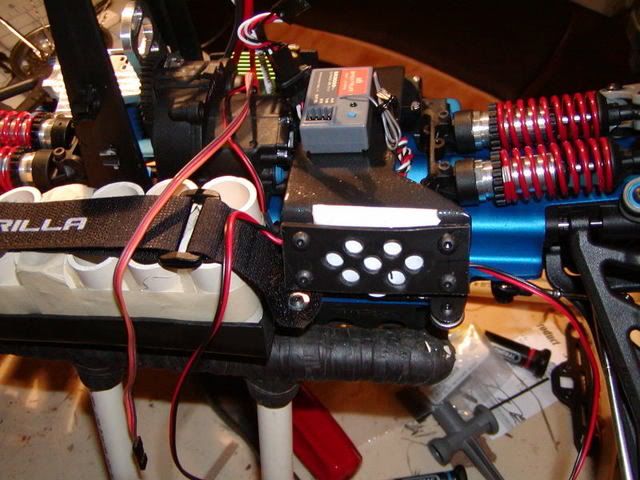  Stay tuned, more to come! |
|
|
|
 |
«
Previous Thread
|
Next Thread
»
| Currently Active Users Viewing This Thread: 1 (0 members and 1 guests) | |
| Thread Tools | |
| Display Modes | Rate This Thread |


 Hybrid Mode
|
|

Powered by vBulletin® Version 3.8.11
Copyright ©2000 - 2026, vBulletin Solutions Inc.
vBulletin Skin developed by: vBStyles.com
Copyright ©2000 - 2026, vBulletin Solutions Inc.
vBulletin Skin developed by: vBStyles.com