


|

|
(#16)
|
|||
|
RC-Monster jumper
Offline
Posts: 1,056
Join Date: Jul 2006
Location: belgium
|
06.03.2007, 10:05 AM
this one is for all mugenite's:
Quote:
Quote:
Quote:
losi 8ight-t
xray xt8 |
|||
|
|

|
|
|
|
|
(#17)
|
|
|
RC-Monster jumper
Offline
Posts: 1,056
Join Date: Jul 2006
Location: belgium
|
06.04.2007, 01:28 PM
Quote:
well, he'd need like atleast 8 cells for 4s2p and there 70gramms a piece right? that also a rather heavy pack to put on one side IMO. losi 8ight-t
xray xt8 |
|
|
|
|
|
|
|
|
(#18)
|
|
RC-Monster Aluminum
Offline
Posts: 568
Join Date: Aug 2005
Location: Cleveland OH
|
06.06.2007, 09:45 PM
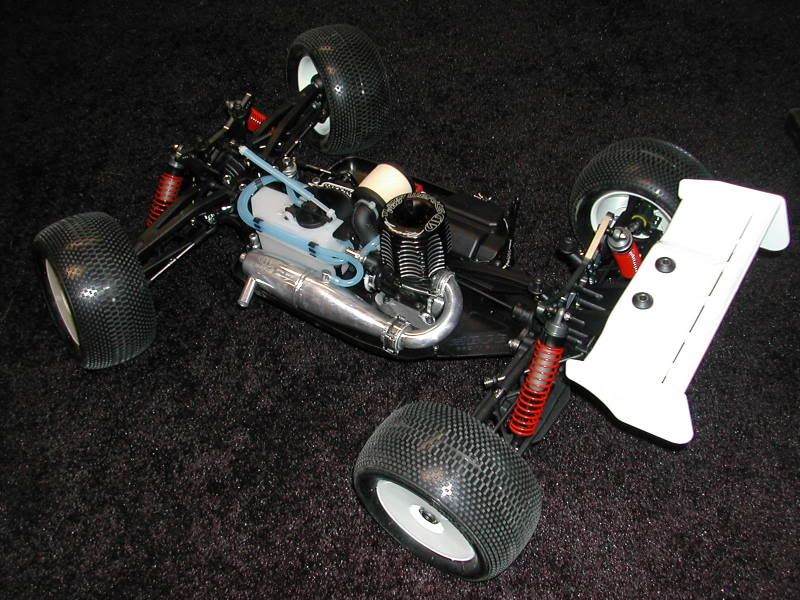
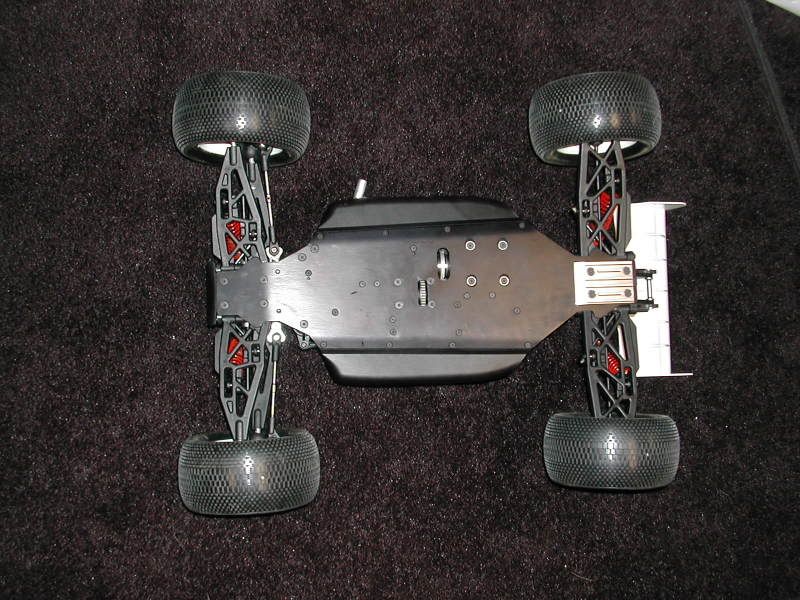
Its been awhile since I've been around, but I thought I might show off my second 5t. Whats happening fella's? I 've been racing alot. I love my MOOOGENS I run both buggy and truggy these days. Yeah yeah yeah.... I know its not Electric but it sure is fun.:030:
|
|
|
|
|
|
|
|
(#19)
|
|
Let non survive!
Offline
Posts: 56
Join Date: Jun 2007
Location: belgium
|
hey there papa,
i see you have bce chassi', how is it? is it a x5t or xx5t? :032: |
|
|
|
|
|
|
|
(#20)
|
|
RC-Monster Aluminum
Offline
Posts: 568
Join Date: Aug 2005
Location: Cleveland OH
|
06.07.2007, 03:44 PM
xx5t the longer one. I have not noticed much of a difference over the stocker. I am still making the podium most of the time.
|
|
|
|
|
|
|
|
(#21)
|
|
Let non survive!
Offline
Posts: 56
Join Date: Jun 2007
Location: belgium
|
06.08.2007, 10:55 AM
does it require a longer rear cvd?
|
|
|
|
mid-mugen mods |
|
|
|
(#22)
|
|
Let non survive!
Offline
Posts: 56
Join Date: Jun 2007
Location: belgium
|
thinking about the brace's:
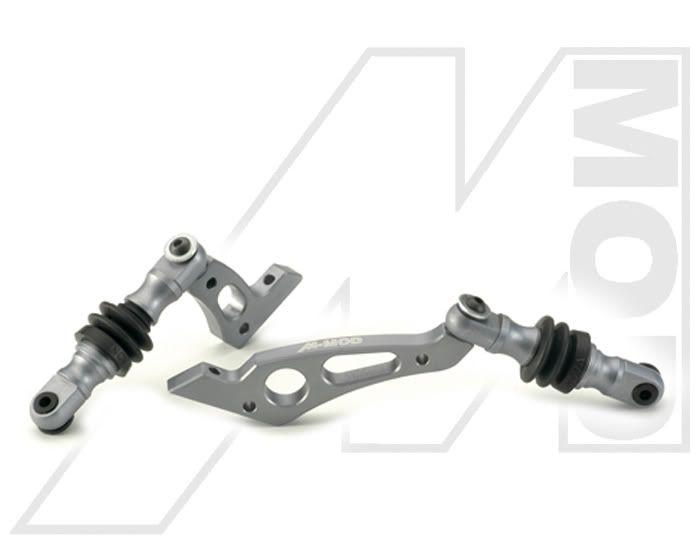 will install the holders from start: 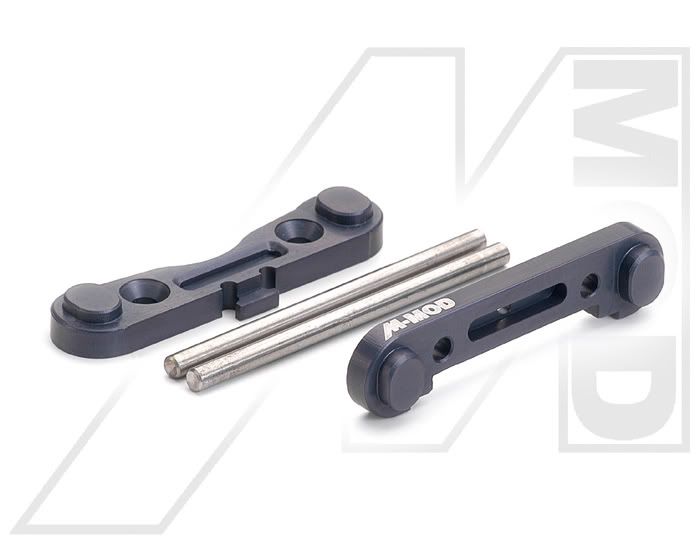 
|
|
|
|
|
|
|
|
(#23)
|
|
RC-Monster Admin
Offline
Posts: 10,480
Join Date: Feb 2005
|
06.10.2007, 07:31 AM
I thought you said you where not worried about the braces?
|
|
|
|
|
|
|
|
(#24)
|
|
Let non survive!
Offline
Posts: 56
Join Date: Jun 2007
Location: belgium
|
06.10.2007, 08:00 AM
these will also flex, like the plastic ones.
most of the pro-spec owners run the plastic braces anyway. also the prospec braces i now dont have to pay for, i wouldnt of used them anyway. |
|
|
|
|
|
|
|
(#25)
|
|
RC-Monster jumper
Offline
Posts: 1,056
Join Date: Jul 2006
Location: belgium
|
06.13.2007, 01:18 PM
braces with dampers in them are being used in real racing cars alot.
so it will be sweet to see them in the mugen truggy. wonder how they will act? losi 8ight-t
xray xt8 |
|
|
|
|
|
|
|
(#26)
|
|
|
RC-Monster Brushless
Offline
Posts: 2,824
Join Date: Apr 2005
Location: largo fl
|
06.13.2007, 01:44 PM
Quote:
|
|
|
|
|
|
|
|
|
(#28)
|
|
RC-Monster jumper
Offline
Posts: 1,056
Join Date: Jul 2006
Location: belgium
|
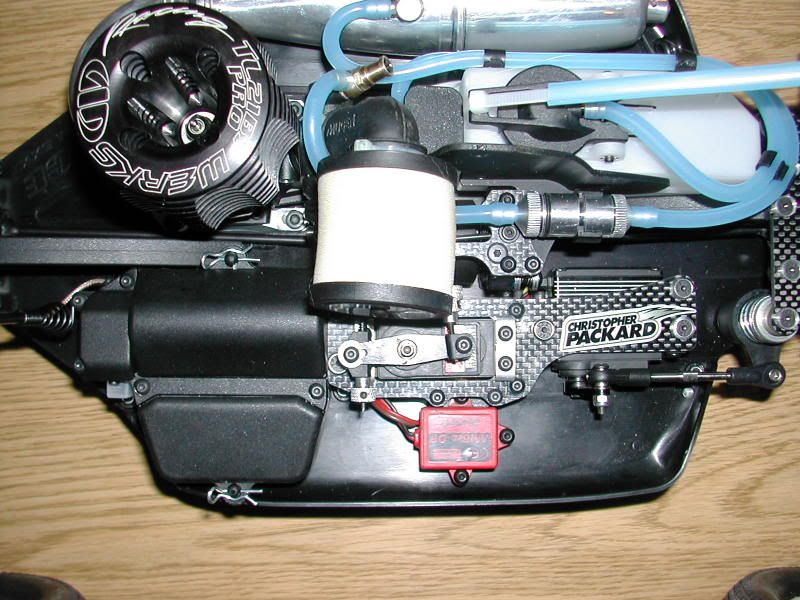
so we started the build of moogenite truggy,
it looks like we will have to change plan to single left mounted batt, right rear motor. cuz we cant put the diff exactly in the center of the chassis, there no room for the front brace. also ( didnt get them yet) but with the special chassis' brace's it looks like the wont be room for a motor like neu 1515 or somehing along those lines, if it where to float over the diff. losi 8ight-t
xray xt8 |
|
|
|
|
|
|
|
(#29)
|
|
There is no help for me... I'm addicted to R/C
Offline
Posts: 291
Join Date: Sep 2006
|
06.20.2007, 02:36 AM
aahh ill be watching this thread closely!! Also planning a brush less conversion.

|
|
|
|
|
|
|
|
(#30)
|
|
Let non survive!
Offline
Posts: 56
Join Date: Jun 2007
Location: belgium
|
06.23.2007, 07:44 AM
its me, sweet x5t pro-spec.:D
i'm thinking of using lehner 2230 motor in my truggy.:p:p:p |
|
|
|
 |
«
Previous Thread
|
Next Thread
»
| Currently Active Users Viewing This Thread: 1 (0 members and 1 guests) | |
 Linear Mode

|
|

Powered by vBulletin® Version 3.8.11
Copyright ©2000 - 2026, vBulletin Solutions Inc.
vBulletin Skin developed by: vBStyles.com
Copyright ©2000 - 2026, vBulletin Solutions Inc.
vBulletin Skin developed by: vBStyles.com