


|
|

|

|
(#1)
|
|
RC-Monster Aluminum
Offline
Posts: 522
Join Date: Jan 2007
Location: Sussex, England.
|
05.12.2007, 09:03 PM
Well after some unplanned modifications I got it running tonight, it was after dark so I just gave it a quick test less than a minute, I didn't let it get far enough away from me and the street light to try for top speed but I was impressed by the acceleration (as good or better than my wildest scale hornet setup (and that had totaly REDICULOUS power), and stunned by the handling it seemed perfect, neutral going into a corner with some lift off oversteer should you need to tighten up, I was drifting round my first few corners nicely which suprised me as I haven't driven an RC car for well over 10 years and when I was driving regularly I couldn't drift nearly as neatly or reliably with my Hornet or scale Hornet pan car.
For anyone following me on this this the RCMonster Lightning stadium mount does not fit the lightning 2 pro due to:- The mount is too wide and without some triming it will hit the turn up on the chassis (I knew about this) The portion of the mount below the diff hole is 3mm to tall, I had to drill out some locknuts and use them as spacers under the front diff mount to get the diff siting level. The holes in the top dont Line up, I bodged it by drilling another hole in the diff brace and put 2 screws into the motor mount and just one through the new hole into the front diff mount, It won't stop me giving it a good thrashing tomorow, but will make up a wider brace that will take all 4 screws before I hit any jumps. And a very minor one, it comes with countersunk screws and the L2Pro brace isn't countersunk. PS. Sorry theres no pics but it was dark, I will take some tomorow. |
|
|

|
|
|
|
|
(#2)
|
|
RC-Monster Aluminum
Offline
Posts: 522
Join Date: Jan 2007
Location: Sussex, England.
|
05.13.2007, 08:21 AM
I got the pics done but its raining hard out there, so I've not run again.
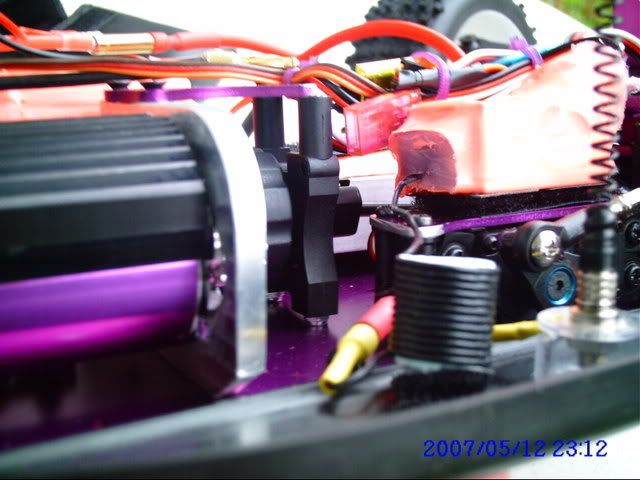 This pic shows the nuts I used as spaceers under the front diff mount. 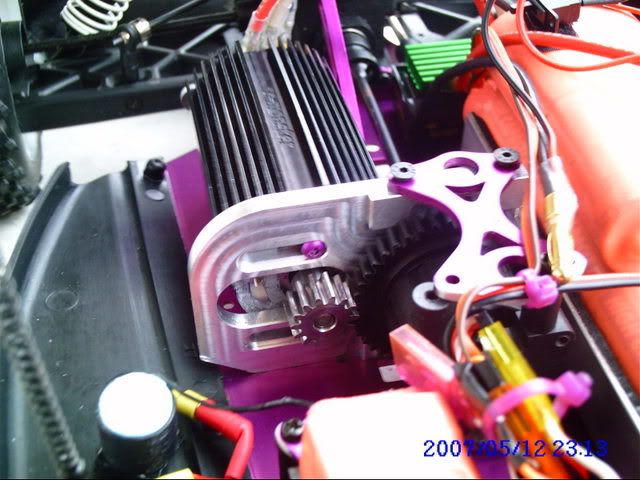 This one shows the cut out I made to clear the chassis turn up and also the misalignment of the holes in the top of the mount. 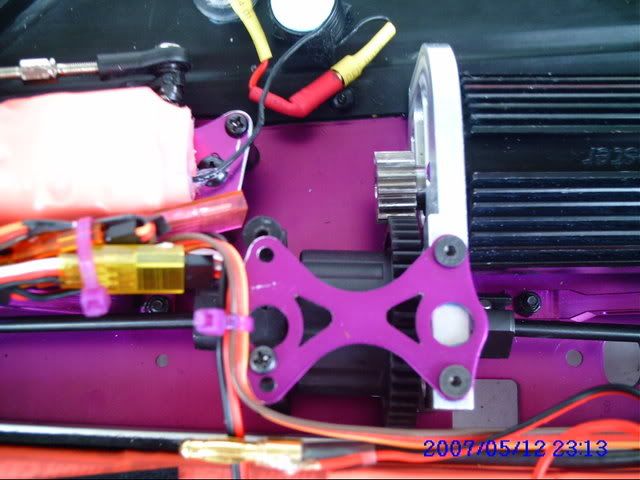 Top view of the diff brace showing how far off the mount holes are. 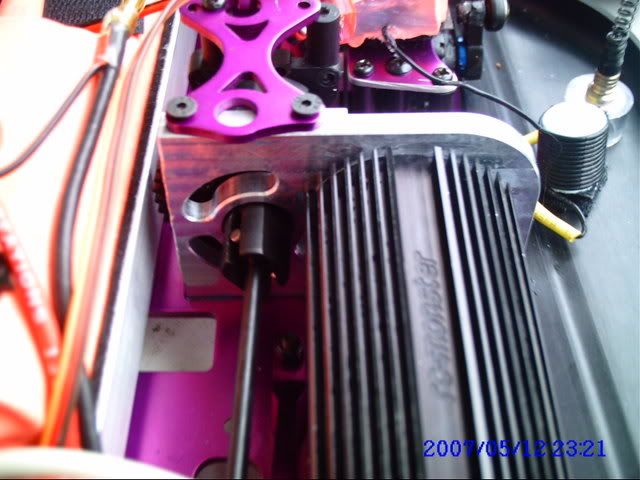 this is individual to my buggy and tray, but I had to cut some of the curve off on the left hand side of the mount to clear my battery tray. 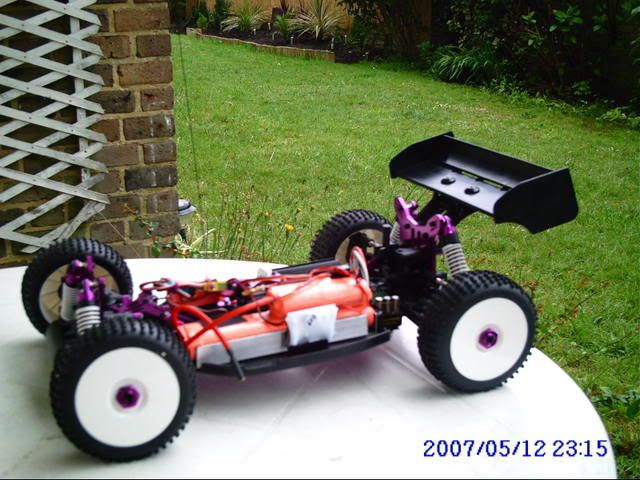 A general topess shot, sorry but its blured to pass the censors. 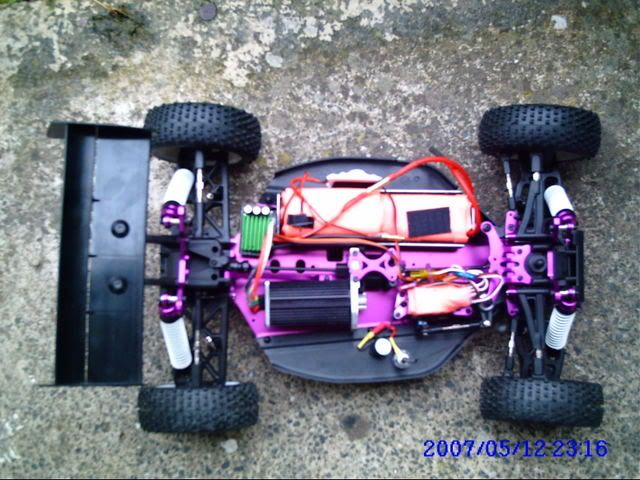 Plan View.  There is a bit of a mess of wires above the servo, I used my boat reciever its encased in silicone with extension leads sticking out for the servos ESC and Bec to plug into, it don't look good but its waterproof so great for boats and English weather. 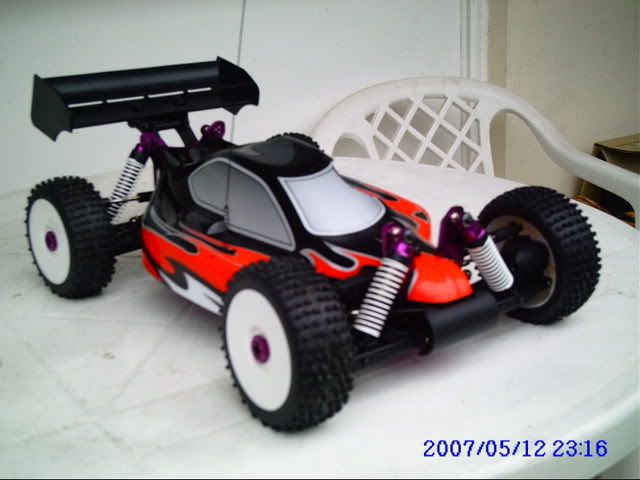 And the last one, to show that it all fits under the body, just. |
|
|
|
 |
«
Previous Thread
|
Next Thread
»
| Currently Active Users Viewing This Thread: 1 (0 members and 1 guests) | |

 Hybrid Mode
|
|

Powered by vBulletin® Version 3.8.11
Copyright ©2000 - 2025, vBulletin Solutions Inc.
vBulletin Skin developed by: vBStyles.com
Copyright ©2000 - 2025, vBulletin Solutions Inc.
vBulletin Skin developed by: vBStyles.com